I decided to work on creating a simple security camera with the Raspberry Pi 4 Model B. I will be making the system more robust over time. In this blog post, you will learn how to create a simple one for yourself.
What you need
You need the following:
- Raspberry Pi 4 Model B
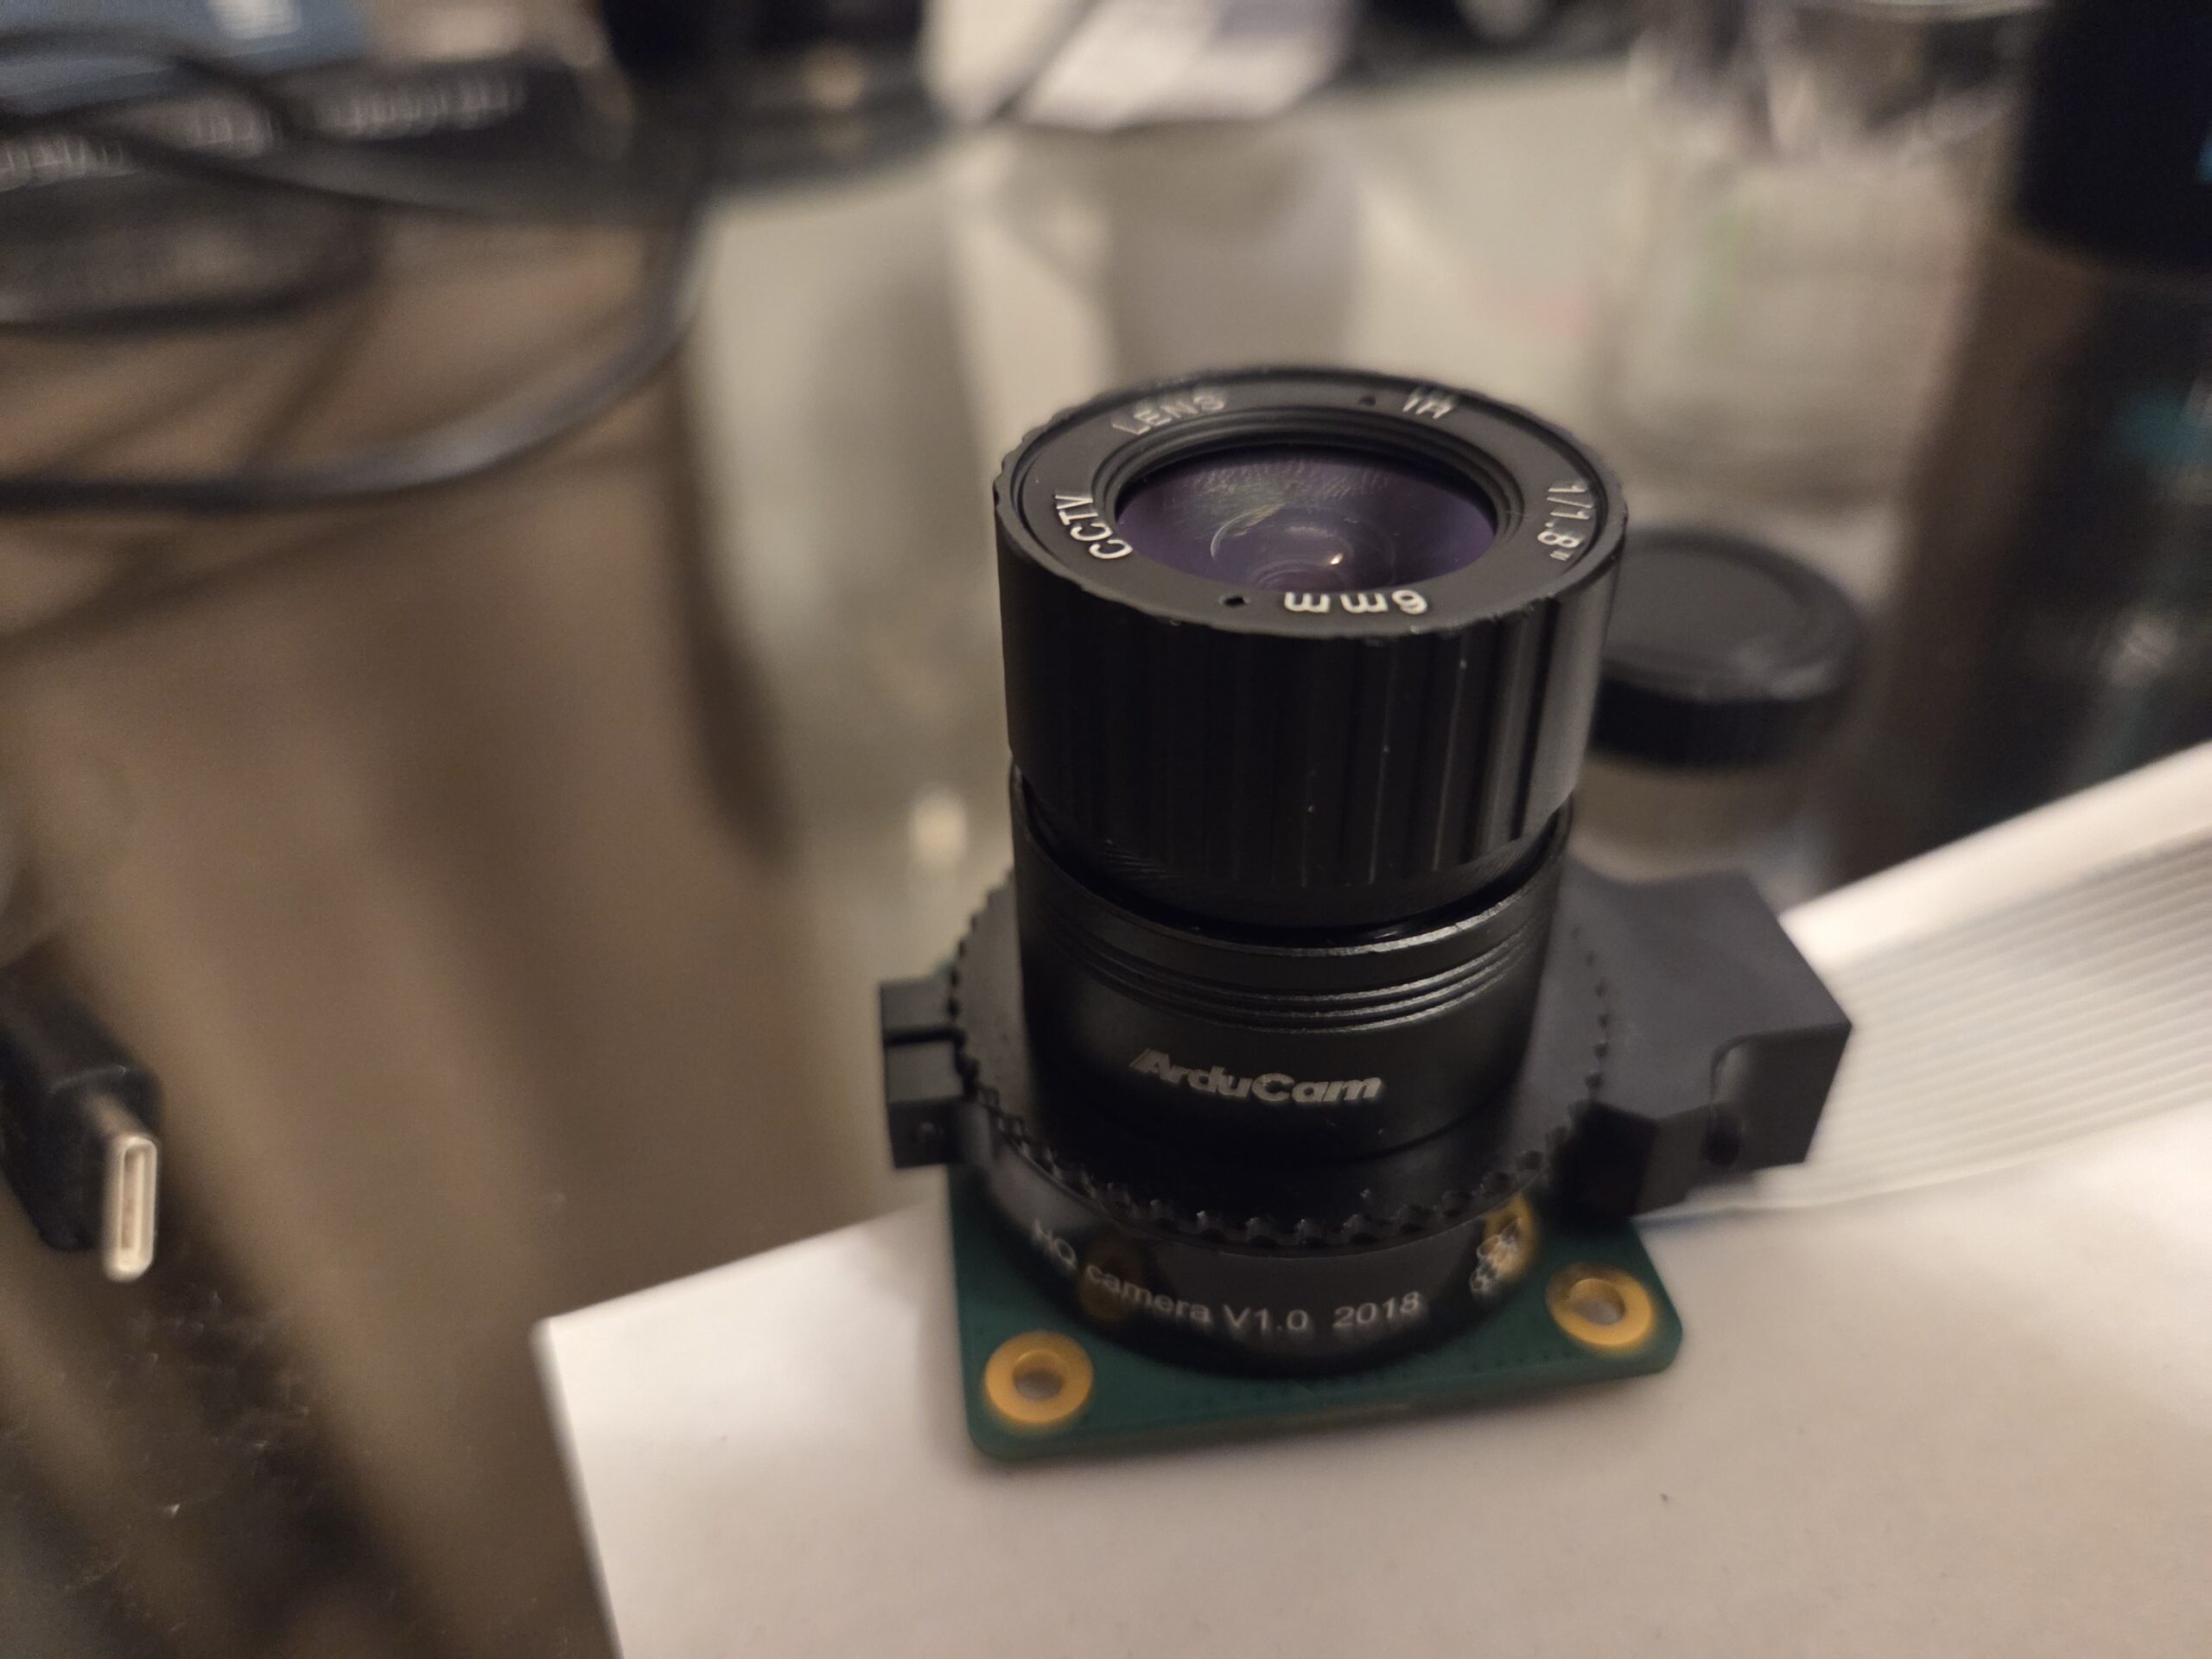
- Raspberry Pi HQ Camera v1.0 2018
- Arducam Lens for Raspberry Pi HQ Camera, Wide Angle CS-Mount Lens, 6mm Focal Length with Manual Focus
- External Hard Drive (for storage)
Attaching the Camera and Storage
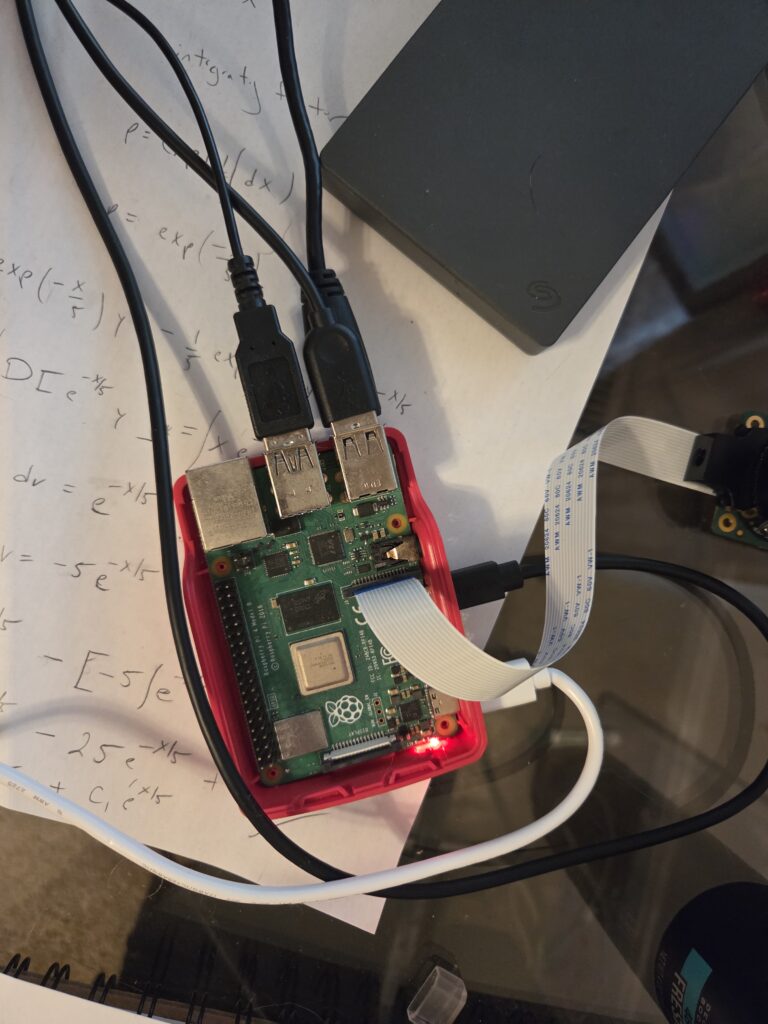
Ensure the Raspberry Pi 4 is turned off while attaching the camera.
On the Raspberry Pi 4 Model B, you attach the ribbon of the camera to the camera port on the board next to the micro HDMI port with the blue portion of the ribbon facing towards the black piece of the connector.
Next, Attach the Arducam Lens to the Raspberry Pi HQ Camera v1.0 2018. Note: When I first got the lens, it took me a while to get it to focus correctly. I just played around with it until it was in focus.

Attach the external hard drive to a USB port.
Controlling the Camera from the Command Line
From the command line, you can use rpicam-still to take a picture by running the following:
rpicam-still -o ~/Desktop/test.jpgAfter you run this command, you will see a JPEG image of the picture the camera took on the Desktop.
Programming the Security Camera
The code serves as a proof of concept. It can be more robust because right now it is shelling out to the command line for a few tasks, and there are some hardcoded values.
The following is the code for the simple security camera:
from picamera2 import Picamera2
from picamera2.encoders import H264Encoder
from picamera2.outputs import FfmpegOutput
import time
import subprocess
from datetime import datetime

"""
t - duration for recording
fname - the name of the file for the footage to be saved to.
"""
def capture_recording(t, fname):
	# Create a camera object
	picam2 = Picamera2()

	# Create a video configuration
	config = picam2.create_video_configuration()

	# Configure the camera to take a video
	picam2.configure(config)


	# H.264 (MPEG-4 Part 10)
	# This is the codec or
        #compression/decompression algorithm.
	encoder = H264Encoder(bitrate=10_000_000)

	# This is the output file,
        # which will save the file as an mp4.
	video_file = FfmpegOutput(fname)

	# Start Recording
	picam2.start_recording(encoder, video_file)

	print("Recording started")
	# Sleep for duration of recording.
	time.sleep(t)

	# Stop the recording
	picam2.stop_recording()
	picam2.stop()

	# Release the camera resource.
	picam2.close()
	print("Recording finished.")

"""
Generates a file name for the recorded video.
"""
def file_name():
	return "gseccam" +
        str(datetime.now().strftime("%Y%m%d%H%M%S")) +
        ".mp4"

"""
main procedure
"""
def main():

	# Continue to run...
	while True:
		# Generate a file name for the next
                # recorded video.
		fname = file_name()

		# Create the file on the system.
		subprocess.run(["touch", fname])

		# Capture a 2 minute video
		capture_recording(120, fname)

		# Copy the recently created
                #video to the external hard drive.
		subprocess.run(["cp",
                fname,
                "/media/gdrocella/Seagate Basic/videos"])

		# Remove the file
                #from the micro SD card.
		subprocess.run(["rm", fname])

if __name__ == "__main__":
	main()
Final Thoughts
There is a lot more that can be done here. Recordings can be saved to the cloud, such as using Amazon Web Services (AWS) S3. Also, Artificial Intelligence could be added. Privacy and Computer Security Infrastructures should be added, too. Plus, a web interface would be a nice touch to access the footage. Motion detection would be a cool feature. Really, the possibilities are endless here.
In this blog post, you learned how to build a simple security camera using Python and the Raspberry Pi 4 Model B.